Marine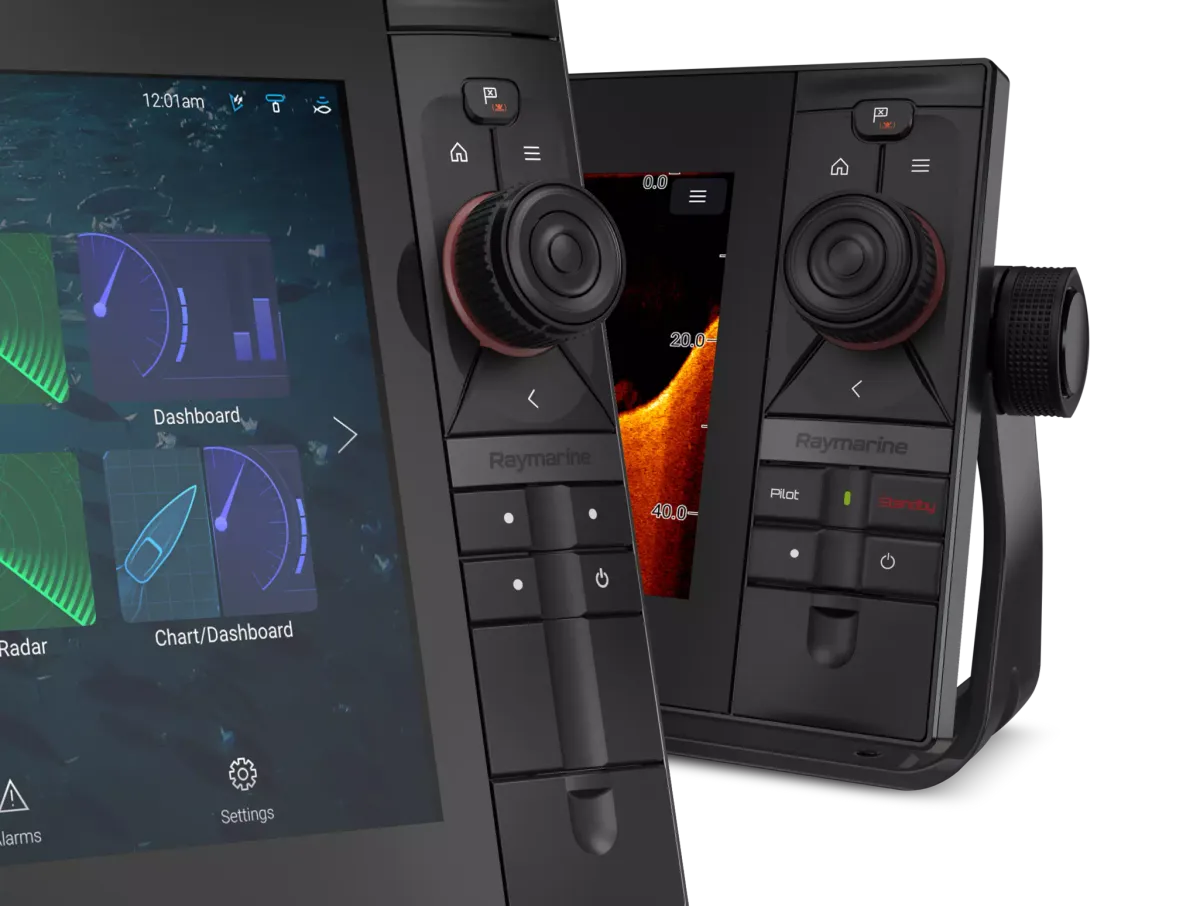
The useful size is the one that works with your viewing distance, layout and control habits.
Measure more than the diagonal
A screen-size label tells only part of the installation story. Compare the external dimensions, panel cut-out and rear clearance in the model’s mounting documentation. Take photographs of the proposed position with a ruler in view. If the display is on a pedestal, consider access from both sides and space for the wheel, compass and existing instruments.
Try your normal screen layout
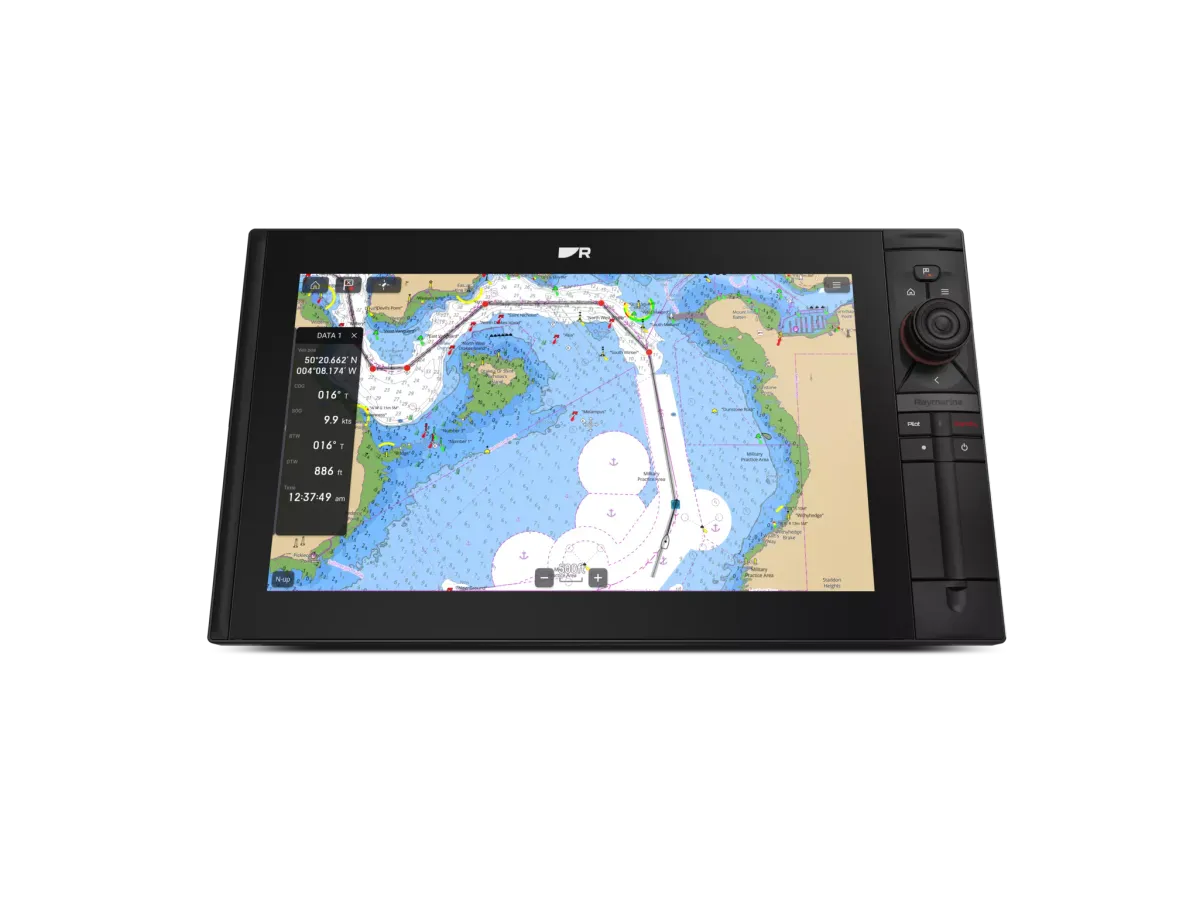
Ask to see a chart alongside the information you plan to keep visible. A display that looks spacious with one full-screen view can feel different when it is divided into several panels. Read the labels from the distance at which you normally stand. Use the demonstration to decide whether a separate instrument repeater would serve the crew better than crowding the chart view.
Treat controls as a practical choice
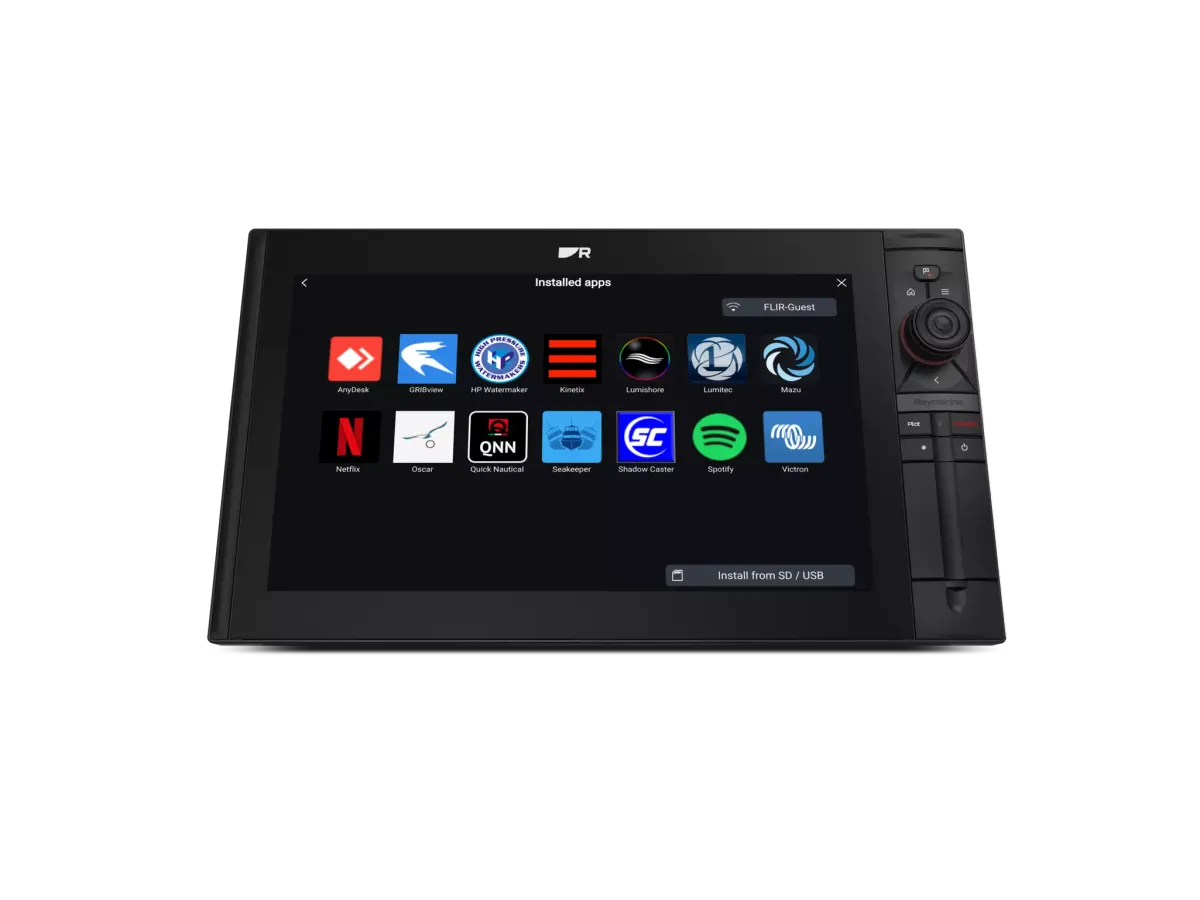
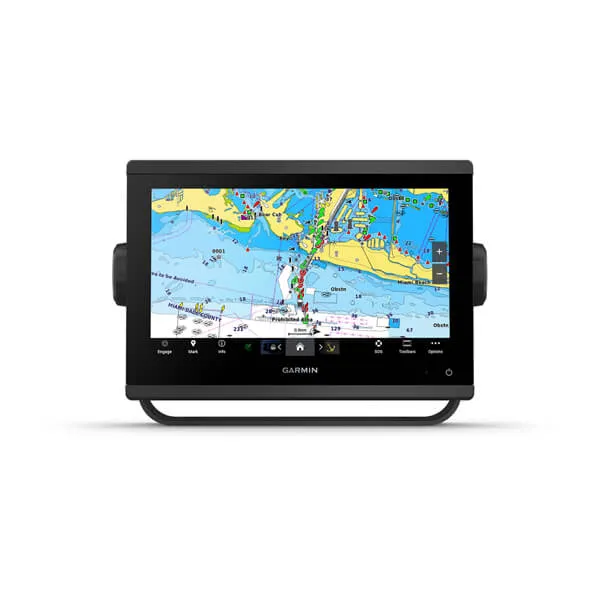
Touchscreens, keypads and rotary controls offer different ways to navigate menus. Compare the exact model, because control arrangements can vary within a product family. Raymarine’s Axiom comparison guide is one example of a manufacturer separating these options. Check how you return to the chart, change brightness and acknowledge a prompt before committing to a mounting layout.
Your planning checklist
- Check cut-out and rear clearance
- Try split-screen layouts
- Read the screen from the helm
- Compare controls on the exact model
Sources & further reading
Original MarineBrands buying and planning guidance, informed by these manufacturer and official references. Confirm current specifications for the exact model and Australian version.
- Raymarine Australia · Axiom model comparison ↗
- Raymarine · model-specific manuals and installation documents ↗
This is an editorial guide. Linked brand advertorials are identified separately; no paid sponsorship or manufacturer approval of this guide is claimed.