Marine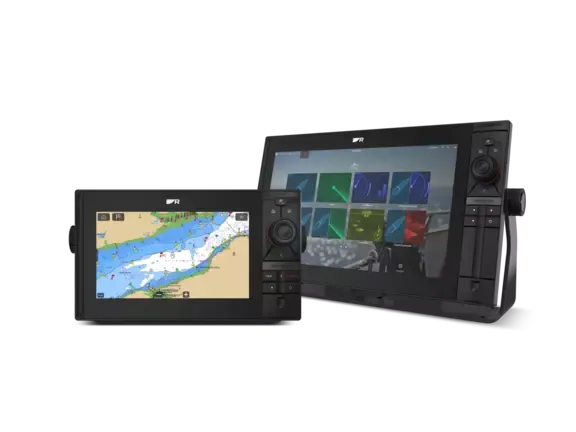
Choose a complete navigation setup, including charts and installation, rather than a screen alone.
Start with the installation position
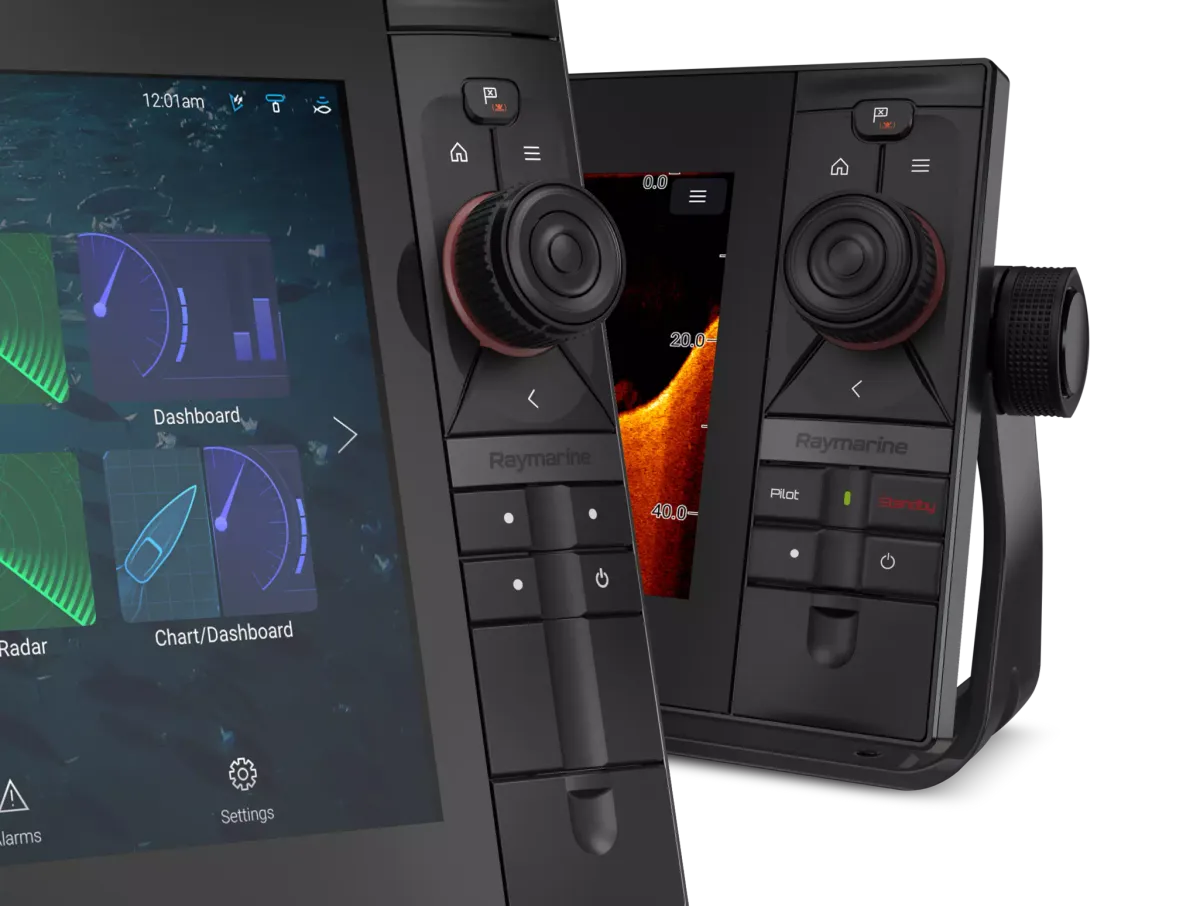
A helm display needs to be readable and reachable where you actually steer. Measure the available space and check clearance behind the panel, cable access and whether a bracket would obstruct movement. Compare touch controls and physical controls in a hands-on demonstration. Your preferred interaction can change when you are standing, wearing gloves or holding on to the boat.
Check the chart package explicitly
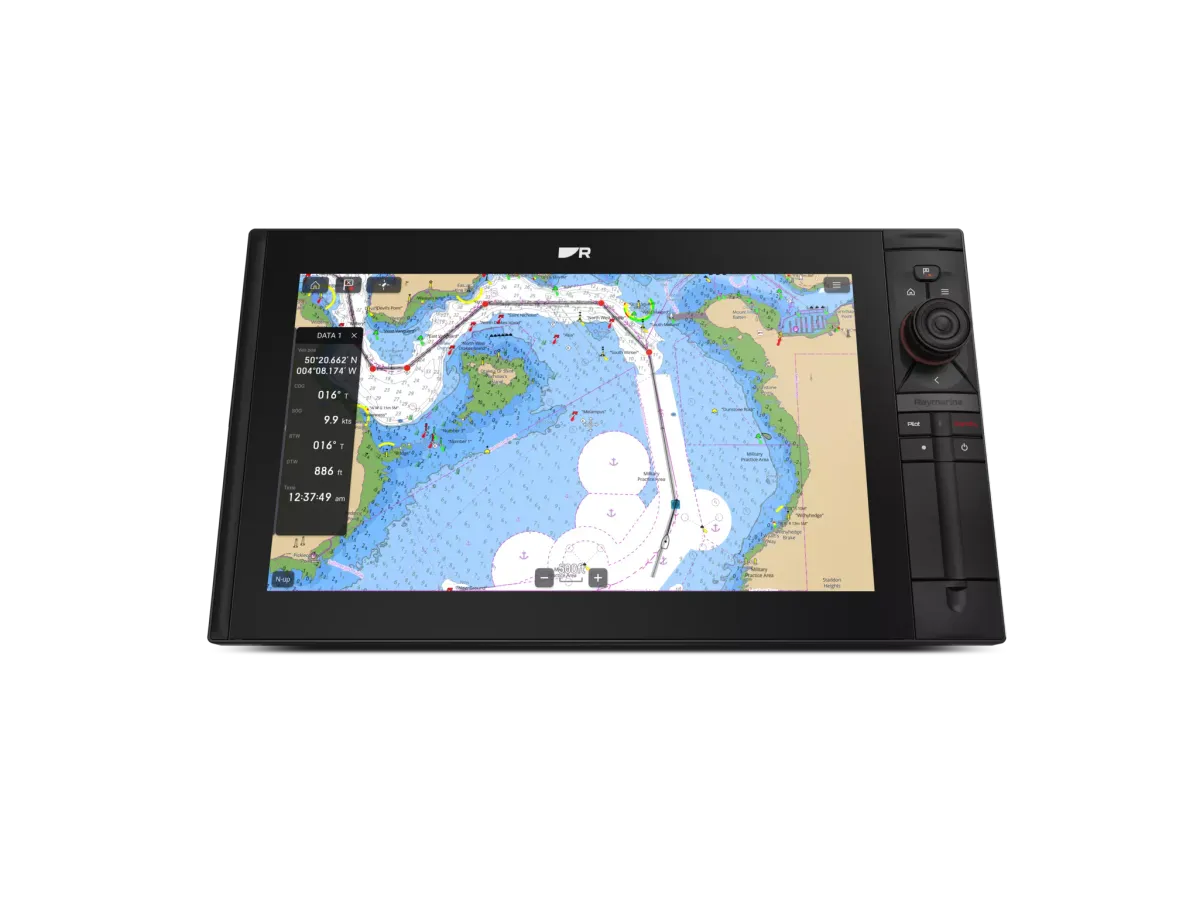
Ask for the name and version of the chart product included in the quote, its Australian coverage and the arrangements for updates. Do not assume every advertised bundle covers your cruising area. A chartplotter model name and a chart subscription describe different parts of the purchase. Record any ongoing account or update requirements before comparing the total cost.
Build an integration shortlist
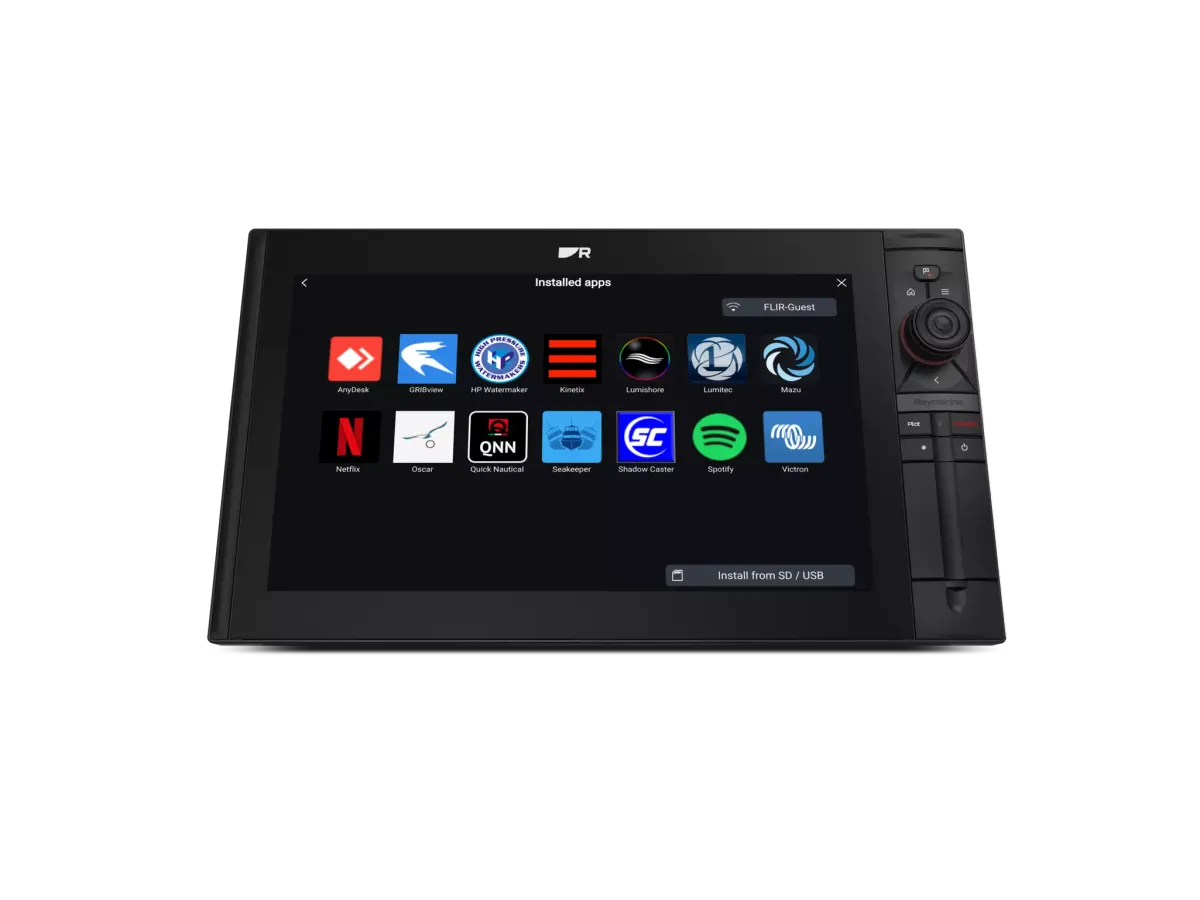
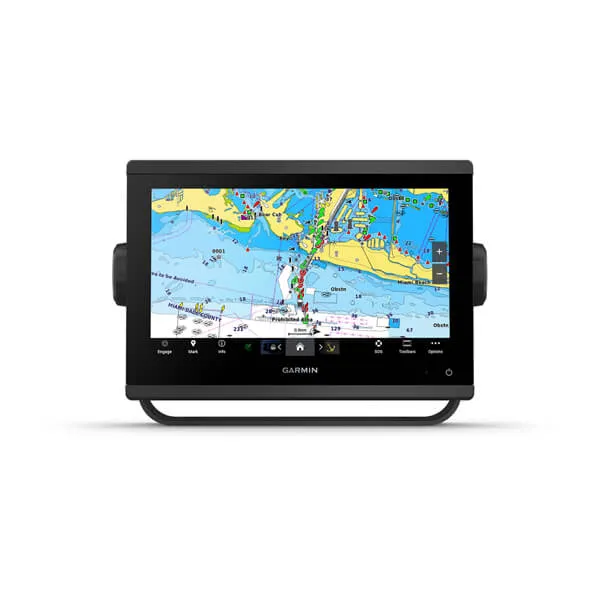
List the instruments, pilot, radar and other equipment you want to connect. Ask for model-specific confirmation of each function, rather than a general promise that the brands work together. B&G Zeus S, Garmin GPSMAP and Raymarine Axiom provide useful examples for a shortlist. Compare the proposed package, local installation support and handover alongside the display itself.
Your planning checklist
- Measure the mounting area
- Test the control style
- Confirm exact Australian chart coverage
- Get written compatibility and installation details
Sources & further reading
Original MarineBrands buying and planning guidance, informed by these manufacturer and official references. Confirm current specifications for the exact model and Australian version.
- Raymarine Australia · Axiom model comparison ↗
- Garmin · GPSMAP 923 product reference ↗
- B&G Australia · Zeus S ↗
This is an editorial guide. Linked brand advertorials are identified separately; no paid sponsorship or manufacturer approval of this guide is claimed.