Marine
A saved route is a planning aid that still needs careful human review.
Learn the workflow before the trip
Use a quiet session at the boat to understand how your model creates, names, edits and removes routes. Start with a familiar area and consult the operating manual. Find out whether routes are stored locally, synchronised through an account or transferred using removable media. Keep the original planning record until you have verified what arrived on the display.
Review the route, not just the line
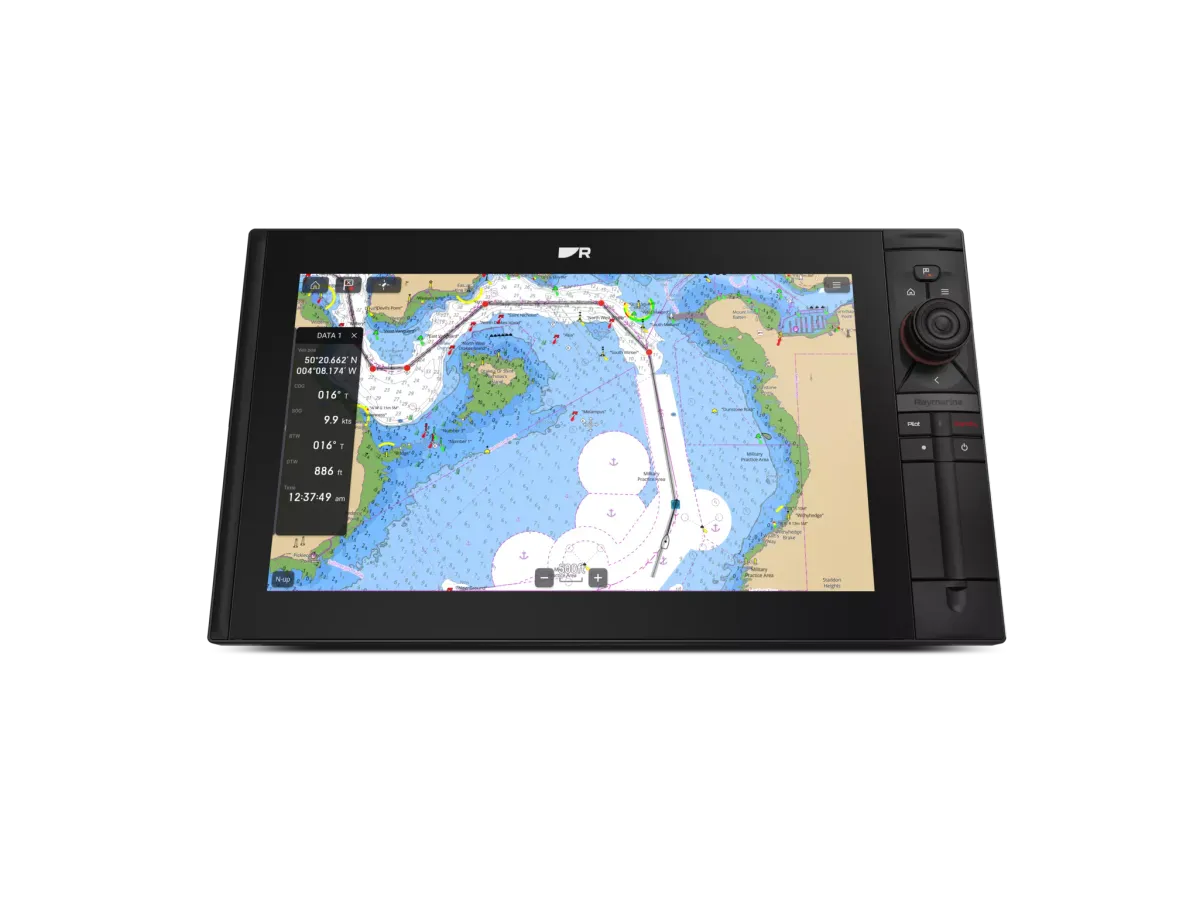
Automatic routing and imported waypoints need review against current chart information and the boat’s circumstances. Check the relevant product instructions and the settings that affect its suggestions. A continuous line on a screen does not establish that every part is suitable. The skipper must consider the passage, conditions and navigation information beyond what the display presents.
Make the plan understandable to others
Use meaningful route names and explain the planned sequence to the crew. Identify who will monitor progress and how a change will be communicated. Practise returning from a menu to the navigation view before departure. Ask the installer to demonstrate route editing and transfer as part of the handover, especially if a phone or tablet is also part of the workflow.
Your planning checklist
- Learn create, edit and delete controls
- Verify transferred waypoints on the display
- Review chart information and route settings
- Brief the crew and retain a backup plan
Sources & further reading
Original MarineBrands buying and planning guidance, informed by these manufacturer and official references. Confirm current specifications for the exact model and Australian version.
- Raymarine · model-specific manuals and installation documents ↗
- Australian Hydrographic Office · official charts and notices ↗
This is an editorial guide. Linked brand advertorials are identified separately; no paid sponsorship or manufacturer approval of this guide is claimed.