 Marine
Understand it.
Choose with purpose.
Choose a navigation workspace, then check the charts and connections behind it.
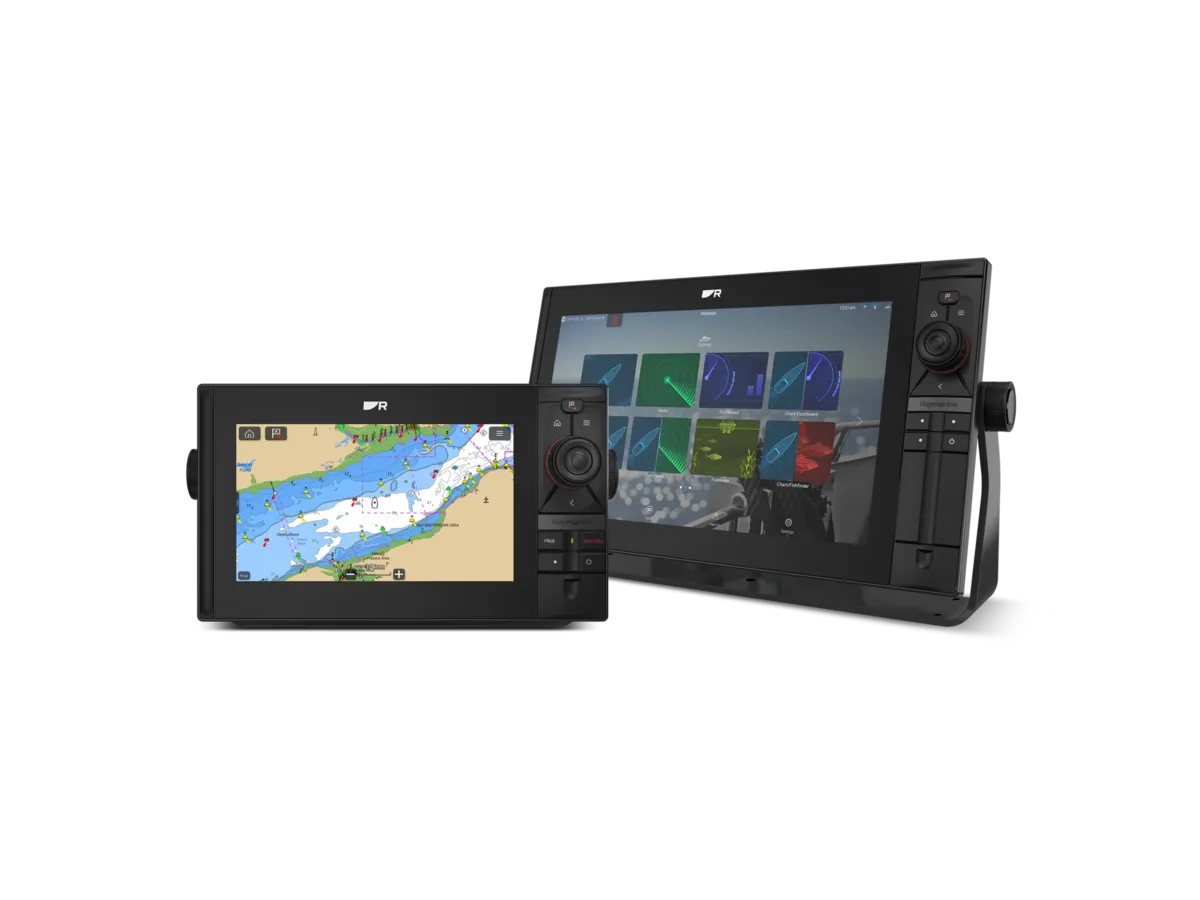
Distinguish the display, position and chart
The screen, position source and chart content are separate parts of the navigation setup. A useful brief identifies all three. Ask which chart coverage and licences are included, how updates are obtained and whether the package matches the waters you intend to use. The Australian Hydrographic Office is a reference point for official chart information.
A larger display does not by itself make chart information current or remove the need for navigation judgement. Keep the discussion centred on the complete navigation process: planning, checking information, monitoring the passage and maintaining a fallback.
Test the work you do most often
At a demonstration, use a short list of representative tasks: inspect chart detail, find a saved waypoint, review a route and return to the normal navigation view. Ask how those tasks work with the proposed controls and screen arrangement. Compare from a realistic viewing distance, not only at a showroom counter.
If the display will also show instruments or other connected information, ask to see those layouts. Decide which information must remain visible and how the crew returns to it. Screen size, mounting space and usable controls belong in the same decision.
Price the complete installed package
Separate the display, chart licence, mounting, interfaces and setup in the proposal. List existing instruments and ask which functions will be retained. Record any software, subscription or account requirements and who manages them.
Ask for a handover covering your saved information, supported connections and update process. Preserve a copy of relevant user data using the manufacturer’s procedure. The objective is a system the crew can operate confidently, with clear limits and documented support, rather than an impressive specification sheet alone.
Compare the approaches
Use these differences to frame a conversation. This is a comparison of project approaches, not a ranking of brands.
| Approach | When to consider it | What to resolve |
|---|---|---|
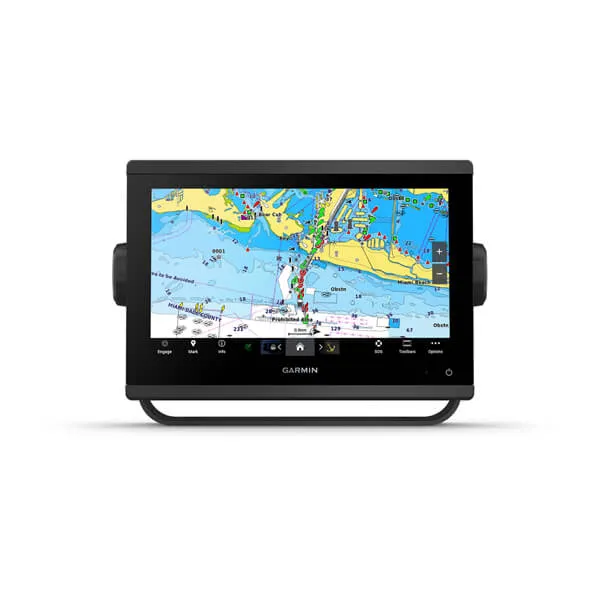
| Compact dedicated plotter | Limited helm space and focused navigation tasks | Check readability with the intended chart view. |
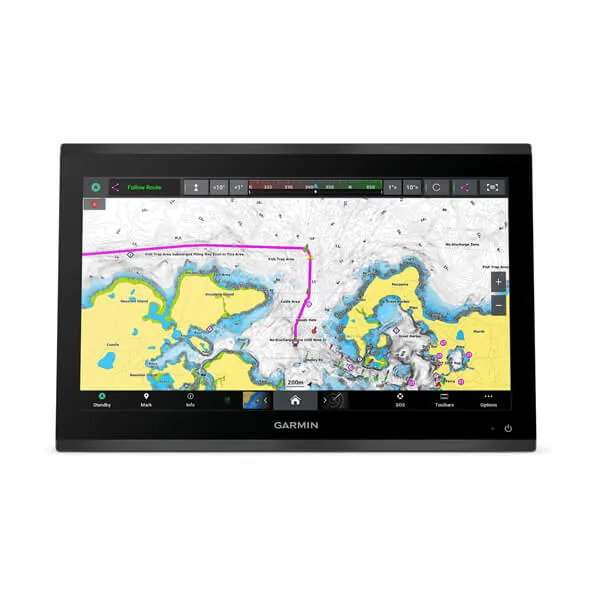
| Larger multifunction display | Several information views at one station | Allow for mounting and a clear page layout. |
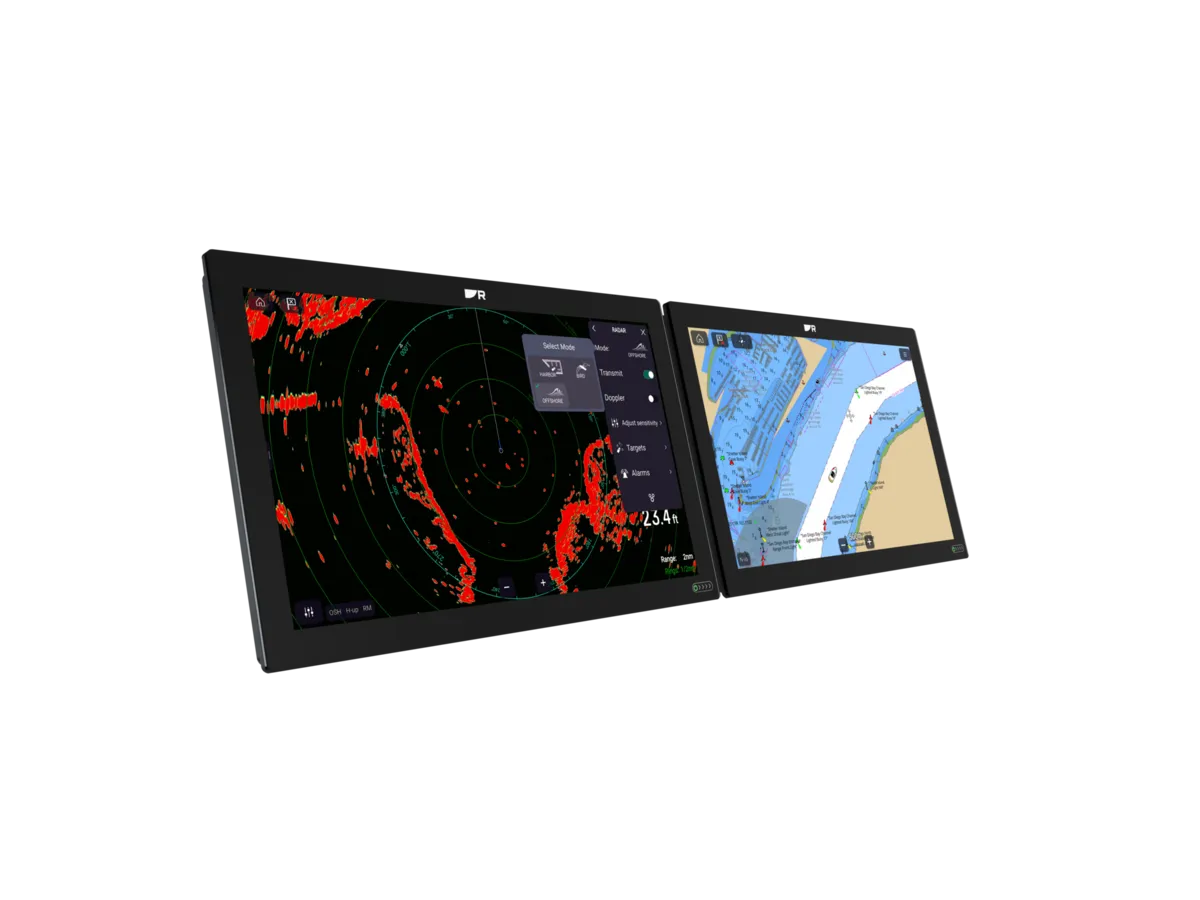
| Connected display arrangement | Several stations with supported data sharing | Confirm exactly which content and controls are shared. |
A coastal cruiser changing brands
An owner likes a new display but wants to keep existing instruments and saved routes.
A considered approach
Request a compatibility and data-migration plan, then compare chart coverage and the full installed cost. Demonstrate the everyday tasks before ordering.
A successful change preserves the useful workflow, not necessarily every old component.
Two mistakes worth avoiding
Assuming charts are included
Ask for the chart product, coverage and update terms by name.
Treating route suggestions as a passage plan
Electronic assistance does not replace checking the route and conditions with appropriate navigation practice.
Know the terms
- Waypoint
- A stored geographic position used in navigation planning.
- Chart coverage
- The geographic area included in a particular chart product.

Turn the lesson into a useful brief.
Tick what you have gathered. Add your boat details and questions, then save a copy to take to a supplier.
Notes stay in this page and are not submitted. Download before leaving; this page does not save them.
Sources & further reading
Manufacturer and authority references for the concepts and product context discussed here. Examples and planning exercises are MarineBrands editorial; they do not imply brand endorsement or product testing.
- Australian Hydrographic Office · official charts and notices ↗
- Raymarine Australia · Axiom model comparison ↗
- Garmin · GPSMAP 923 product reference ↗



 Instrument displays →
 Wind sensors →
 Sailing processors →
 Autopilots & controls →